Ruby Ruby 的 Websocket Server 发送压缩后的 Binary Frame 格式的数据。
正常使用 websocket,通常发送的数据格式都是 json。 但是在做强实时应用时,如果每秒发几百 k 的数据的话,带宽还是比较捉急的,需要压缩一下。
Node js
用 nodejs 做 server 的话比较简单。 nodejs 可直接推送 gzip 后的数据。 引入一个叫 pako 的处理 gzip 的库 https://github.com/nodeca/pako pako.deflate
var WebSocket = require('faye-websocket'),
    http      = require('http');
var pako = require('pako');

var server = http.createServer();


server.on('upgrade', function(request, socket, body) {
  if (WebSocket.isWebSocket(request)) {
    var ws = new WebSocket(request, socket, body);
    ws.on('open' , function(event){
      setInterval(function(){
        var data = {'aaa' : 'aaa' , 'bbb' : 'bbb'}
        var input = JSON.stringify(data)
        var output = pako.deflate(input , {to: 'string'});
        ws.send(output)
      } , 1000)
    });
    ws.on('message', function(event) {

    });

    ws.on('close', function(event) {
      console.log('close', event.code, event.reason);
      // ws = null;
    });
  }
});

server.listen(8080);
前端直接解压数据后即可使用 pako.inflate
var ws = new WebSocket('ws://localhost:8080/websocket')
ws.onopen = function(){
  ws.send('hello')
}

ws.onmessage = function(e) {
  var blob = e.data;
  console.log(pako.inflate(e.data, { to: 'string' }))
}
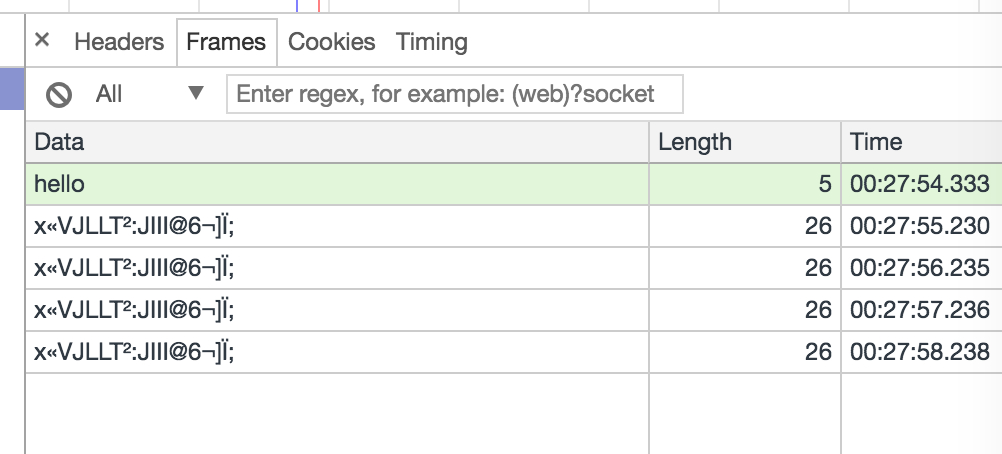
我们看到的效果是这样的

看起来是 text 格式的。
ruby gzip 压缩只需要
require 'active_support/gzip'

string = 'balabala'
gzip_string = ActiveSupport::Gzip.compress(string)
但是在 Ruby 的 websocket server 中,压缩后的数据,无法直接 send,因为 Ruby 的 websocket 发送的 text 数据格式只能是 utf8。
websocket-eventmachine-server
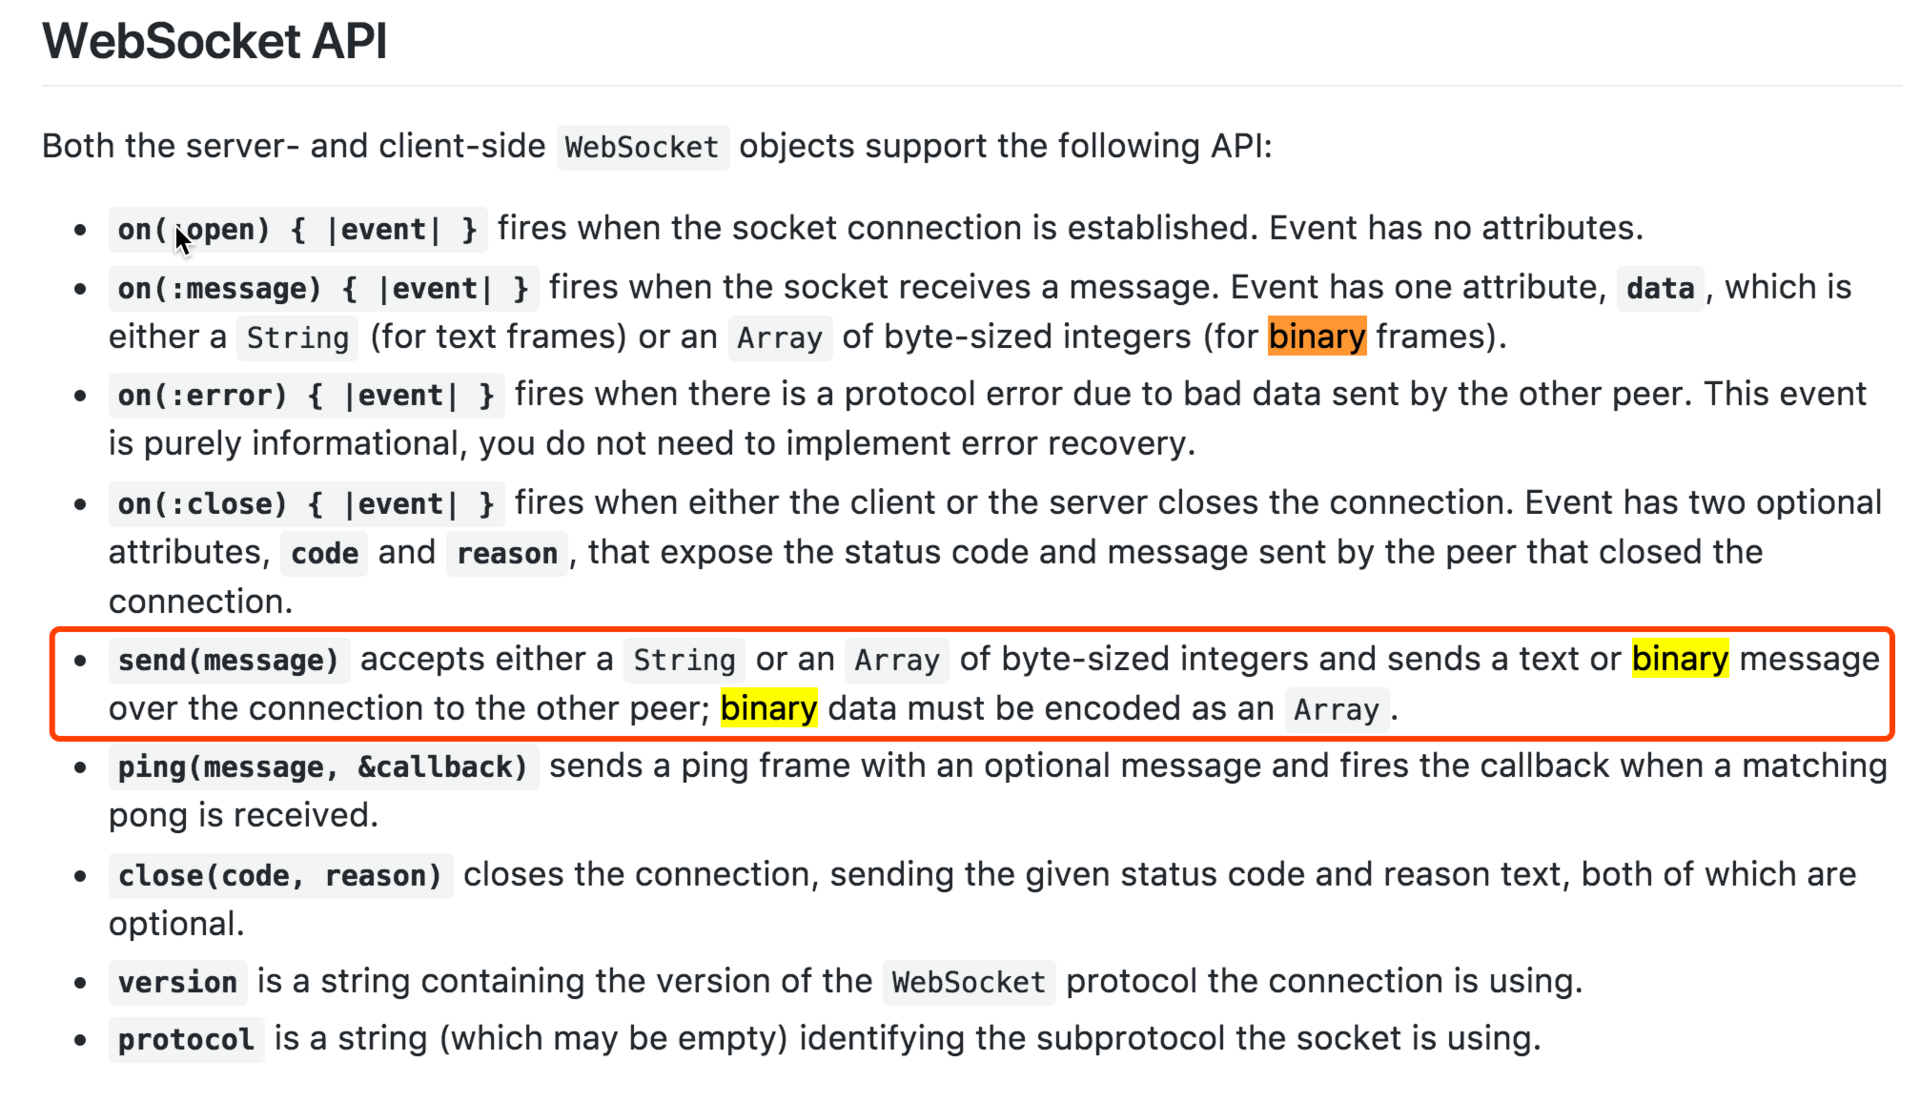
websocket-eventmachine-server 中提供了二进制模式,只要指定数据类型是 binary 即可。
ws.send gzip_string , :type => :binary
require 'json'
require 'active_support/gzip'
require 'websocket-eventmachine-server'


h ={aaa: 'bbb' , ccc: 'ddd'}
string = JSON(h)
gzip_string = ActiveSupport::Gzip.compress(string)


EventMachine.run do
  WebSocket::EventMachine::Server.start(:host => "0.0.0.0", :port => 8080) do |ws|

    ws.onopen do
      puts "Client connected"
    end

    ws.onmessage do |msg, type|
      ws.send gzip_string , :type => :binary
    end

    ws.onclose do
      puts "Client disconnected"
    end

  end
end
这时前端看到的效果有点酷了

事实上这也是目前主流的 websocket 的做法。自带加密效果。
(如果想达到更好的加密,需要把客户端 send 的 message 也 gzip 一下。)
前端 js 接收数据的方式要改变一下了,用 FileReader 读取二进制流。
var ws = new WebSocket('ws://localhost:8080/websocket')
ws.onopen = function(){
  ws.send('hello')
}

ws.onmessage = function(e) {
  var blob = e.data;
  var reader = new FileReader();
  reader.readAsBinaryString(blob);
  reader.onload = function (evt) {
    var data = pako.inflate(evt.target.result, { to: 'string' })
    console.log(JSON.parse(data))
  };
}
faye-websocket-ruby
使用 websocket-eventmachine-server 需要自己管理进程,比较烦,用faye的话就可以随 passenger 启动。
faye 也是支持 binary frame 的,但要求我们手工转成二进制 array
 转换的方法
转换的方法
zip_string =  ActiveSupport::Gzip.compress(JSON(data))
unpack = zip_string.unpack('C*')
全部代码
#config.ru
require 'faye/websocket'
require 'active_support/gzip'
require 'json'

app = lambda do |env|
  if env['PATH_INFO'] == '/websocket'
    ws = Faye::WebSocket.new(env)

    timer = EM.add_periodic_timer(3) do
      data = {aaa: :bbb , ccc: :ddd}
      zip_string =  ActiveSupport::Gzip.compress(JSON(data))
      unpack = zip_string.unpack('C*')
      ws.send(unpack)
    end

    ws.on :message do |event|
      ws.send("You sent: #{event.data}")
    end

    ws.on :close do |event|
      EM.cancel_timer(timer)
      p 'close'
      ws = nil
    end

    # Return async Rack response
    ws.rack_response

  else
    [404, { "Content-Type" => "text/plain" }, ["Not found"]]
  end
end

# See https://www.phusionpassenger.com/library/config/tuning_sse_and_websockets/
if defined?(PhusionPassenger)
  PhusionPassenger.advertised_concurrency_level = 0
end

run app
随 passenger 的启动方式见 https://github.com/phusion/passenger-ruby-faye-websocket-demo
Action Cable
并没有发现 ActionCable 有提供 Binary 传输参数。
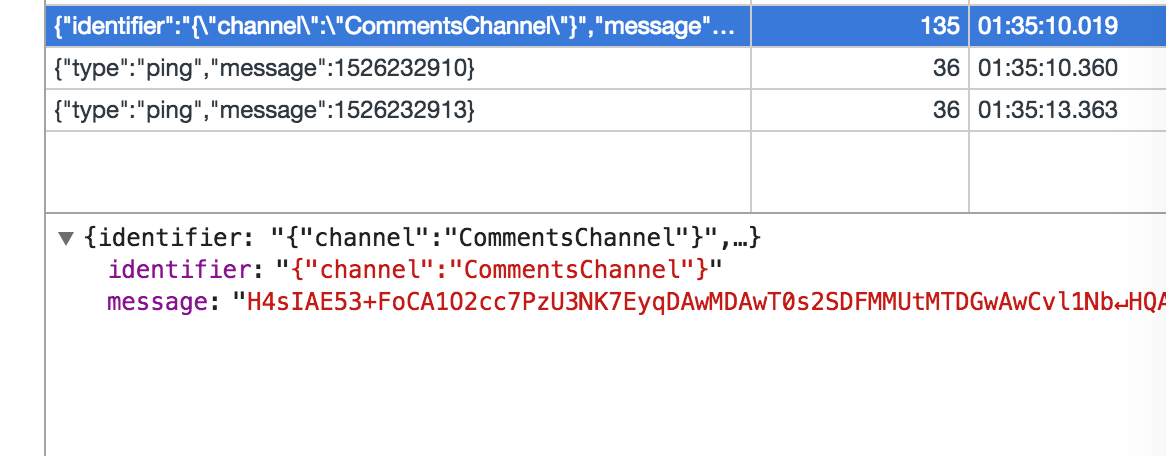
分析了一下。ActionCable 利用了 redis 的 pub/sub。而直接往 redis 里推 gzip 后的数据是推不进去的,但是可以把 gzip 后的数据 base64 一下。
class CommentRelayJob < ApplicationJob
  def perform(data)
    ActionCable.server.broadcast "messages:1:comments", Base64.encode64(ActiveSupport::Gzip.compress(data.to_json))
  end
end
这时我们看到的数据是酱紫的
 前端只需要 base64 解码后 gzip 解压数据即可食用。
App.comments = App.cable.subscriptions.create "CommentsChannel",
  collection: -> $("[data-channel='comments']")

  connected: ->
    #code

  received: (data) ->
    # console.log data
    console.log JSON.parse pako.inflate(atob(data), { to: 'string' })
压缩效果对比
ActiveSupport::Gzip.compress(data , 9 , 1) #最大压缩比
压缩效果对比
| 压缩比 | Base64 | 体积 | 压缩比 | base64 体积增大百分比 | 平均耗时 |
|---|---|---|---|---|---|
| 不压缩 | 121713 | 0% | |||
| default | 27106 | 22.27% | 0.005862s | ||
| default | 是 | 36747 | 30.19% | 35.56% | 0.005878s |
| max | 24761 | 20.34% | 0.012196s | ||
| max | 是 | 33567 | 27.58% | 35.56% | 0.012197s |
对比结果,默认压缩性价比比较高。最大压缩比耗时多用了 1 倍。base64 看起来不耗时。
不压缩测试字符串 121k,默认压缩后 27k,base64 后 36k,base64 后体积增大 9k、增大 35.56%。
对于没有太多保密需求的应用,用 actioncable + gzip+base64 体积压缩了 70%,应该还是可以接受的。
代码改动量很小,业务比较容易写,websocket 进程管理又可以丢给 nginx+passenger。
Action Cable Patch
仔细研究了一下 action cable 源码,发现其实在 ActionCable::Connection::ClientSocket 里二进制传输是有预留的,只要给的 message 是个 array 就行了。
module ActionCable
  module Connection
    class ClientSocket
      ...
      def transmit(message)
        return false if @ready_state > OPEN
        case message
        when Numeric then @driver.text(message.to_s)
        when String  then @driver.text(message)
        when Array   then @driver.binary(message)
        else false
        end
      end
      ...
    end
  end
end
不过从 redis pub 过来的数据肯定是个 string。
所以需要通过配置或参数,通知 actioncable 将数据转成 binary array。
翻看源码,只需要在 ActionCable::Connection::Base 初始化时指定 encode decode 的 coder 即可,默认是 ActiveSupport::JSON
module ActionCable
  module Connection
    class Base
      include Identification
      include InternalChannel
      include Authorization

      attr_reader :server, :env, :subscriptions, :logger, :worker_pool, :protocol
      delegate :event_loop, :pubsub, to: :server

      def initialize(server, env, coder: ActiveSupport::JSON)
        @server, @env, @coder = server, env, coder

        @worker_pool = server.worker_pool
        @logger = new_tagged_logger

        @websocket      = ActionCable::Connection::WebSocket.new(env, self, event_loop)
        @subscriptions  = ActionCable::Connection::Subscriptions.new(self)
        @message_buffer = ActionCable::Connection::MessageBuffer.new(self)

        @_internal_subscriptions = nil
        @started_at = Time.now
      end
  end
end
coder
module ActionCable
  module Connection
    class coder
      def self.encode(data)
        ActiveSupport::Gzip.compress(data.to_s)
      end
      def self.decode(data)
        ActiveSupport::Gzip.decompress(data)
      end
    end
  end
end
不过 actioncable 启动时并没有给配置 coder 的地方,所以看来需要打 patch 或提 PR 了。
另外 js 里还需要解决 channel 相关的逻辑。是个比较麻烦的问题。留个坑慢慢填吧。
如有大神知道有先人有解决的方案的话,麻烦告知一下
Tips
- 数据未经压缩也可以用 Binary Frame 格式推送。
- 在小数据的时候 gzip 后体积反而增大。